When a roof is ready to give way or smoke is banking down a hallway, the hook you put in your hands matters just as much as the saw or Halligan on the rig.
Yet many departments buy hooks piecemeal—whatever’s in the catalog, whatever was cheapest at last year’s expo—without matching the tool to daily fire-ground realities. This guide will walk you, step by step, through a deliberate selection process so every riding position carries the right hook, not just a hook.
1. Start With Your Incident Profile
Before you even open a vendor brochure, answer three questions:
-
What does your first-due building stock look like?
-
Urban, tight-lot row homes? You’ll spend more time pulling plaster and ceilings from confined stairwells than you will opening farm roofs.
-
Rural barns and detached wood-frame dwellings? Longer reaches and rake-style heads become more valuable.
-
How often do you cut roofs vs. overhaul vs. search?
Examine your last year of incident reports. If vertical ventilation is rare, spending extra on heavy Pro-Bar heads for every seat may not pay off. -
Which company performs which tasks?
Truck companies typically need aggressive teeth and mid-length shafts for vent work. Engine companies favor slightly shorter, lighter hooks for overhaul once water is on the fire. RIT teams benefit from one extended-reach hook for sounding and debris removal.
Take those answers to the next sections—they dictate every specification that follows.
2. Match the Hook Head to the Job
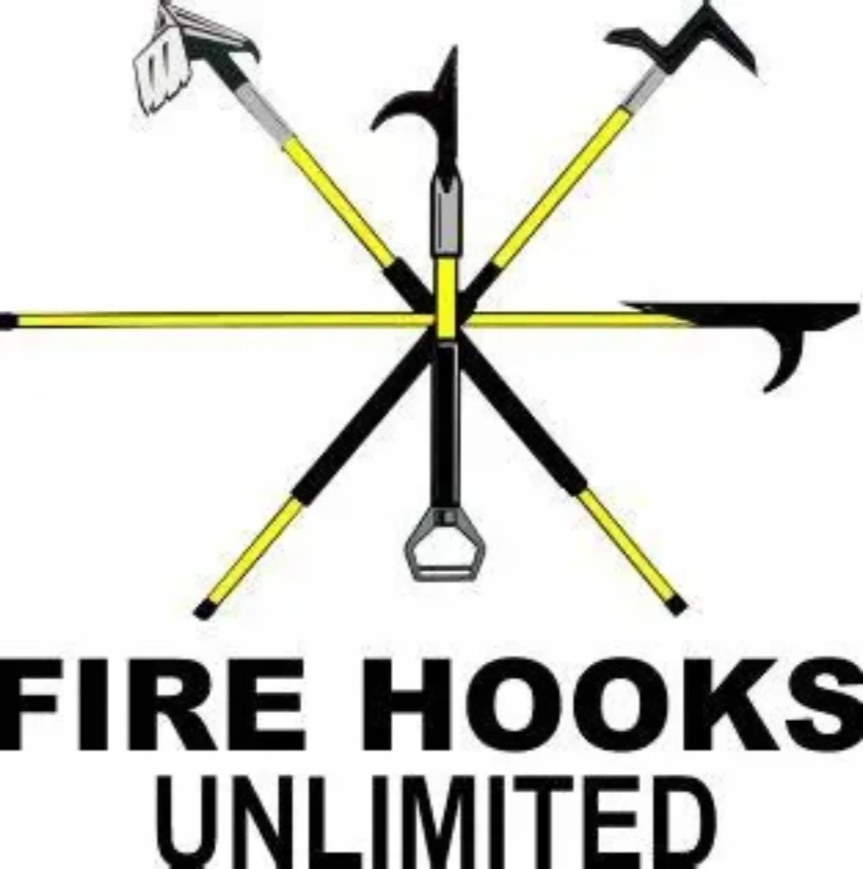
While manufacturers brand their heads differently, most fall into four working categories:
|
Head Style |
Best Use Case |
Key Strength |
|
NYC / Pro-Bar |
Vertical ventilation, lath-and-plaster demolition |
Heavy, flared teeth bite deep and hold |
|
Colorado / Trash Hook |
Drywall pull, lightweight ceiling overhaul |
Wide chisel face lifts sheet goods cleanly |
|
Boston Rake / D-Handle Rake |
Brush fires, barn overhaul, debris drag-out |
Long rake teeth snag smoldering straw, hay, or insulation |
|
Pike-Pole Hybrid |
Salvage and overhaul in high ceilings |
Combination spear point and hook grabs joists, rolls insulation |
Decision tip: Purchase at least two head styles that complement each other—a “bite” head (NYC) for aggressive work and a “clean” head (Colorado) for controlled overhaul.
3. Choose the Correct Length
Length drives three critical factors: reach, leverage, and maneuverability.
-
4 – 6 ft (1.2 – 1.8 m): Fits stairwells, apartments, and bucket lifts. Allows one-handed operation in cluttered spaces—ideal for interior crews.
-
6 – 8 ft (1.8 – 2.4 m): The “truck company standard.” Long enough to sound roofs and punch attic ceilings; short enough to ride inside most cabs.
-
10 – 12 ft (3 – 3.6 m): Specialty tool for commercial buildings, churches, and warehouses. Plan storage on exterior ladders or rear compartments and assign to companies that routinely work these occupancies.
Rule of thumb: If it rarely leaves the compartment because it’s too long for doorways, it’s the wrong length for that company. Better to carry a 6-ft hook daily than a 10-ft that never makes it off the rig.
4. Pick the Best Shaft Material
|
Material |
Pros |
Cons |
Ideal Assignment |
|
Fiberglass |
Light, non-sparking, bright color, decent flex |
Can splinter with UV exposure; pricier than wood |
Truck and roof crews who value reduced fatigue |
|
Steel / All-Metal |
Nearly indestructible, doubles as pry bar |
Heavy; transmits shock; surface rust without paint |
Urban companies doing forcible entry and vent |
|
Wood (Hickory/Ash) |
Traditional feel, good shock absorption, inexpensive |
Needs oiling; susceptible to drying cracks |
Rural departments wanting low-cost replacements |
Ergonomics tip: Lay a fiberglass 6-ft next to a steel 6-ft and run the same vent hole evolution. Crews will quickly learn which weight they can control when fatigue hits on a three-story walk-up.
5. Evaluate Special Design Features
-
Dielectric shafts—coated fiberglass rated to resist electrical conduction when contacting line voltage (never a license to ignore power lines, but added safety for storm or car-into-pole calls).
-
D-handles or bulldog grips—help interior crews leverage drywall pulls without slipping, especially in gloves soaked with water and foam.
-
Hi-vis coatings or reflective bands—speed tool retrieval in low visibility and during overhaul lighting.
-
Marrying slots or magnets—allow hooks to latch to Halligans so one firefighter can carry both tools up a ladder.
Add only features you’ll use; unnecessary attachments add weight and cost.
6. Field-Test Before You Buy in Bulk
Request demo units or purchase one of each candidate hook. Run them through:
-
Ceiling pull drills in a burn building or prop.
-
Roof ventilation evolutions on your training structure.
-
Confined-space maneuvers in tight corridors.
Collect feedback:
-
Is the head shape clearing material or clogging?
-
Does the grip twist when wet?
-
Can short firefighters leverage it as effectively as tall ones?
Build a scorecard anchored to your incident profile, not manufacturer marketing copy.
7. Standardize and Assign
Once you settle on models:
-
Standardize by riding position. Example: Each interior seat gets a 6-ft Colorado fiberglass; each roof position gets an 8-ft NYC steel.
-
Update apparatus inventories so mutual-aid companies know what’s on your rig.
-
Train every member on all hook types, not just the one they usually carry—crews often swap tools mid-incident.
Consistency breeds muscle memory; muscle memory breeds speed.
8. Build Maintenance Into the Decision
A premium hook that never needs repainting may cost less over 10 years than a bargain model that rusts and sheds grips annually. Include:
-
Replacement head availability—can the tool be rebuilt or must you junk it?
-
Manufacturer support—do they supply spare parts and clear maintenance instructions?
-
Inspection schedule—fiberglass and wood require UV or oil treatment. Budget that time.
9. Document the Why
Finish the process by writing a short specification sheet:
-
Model / head type / length / material
-
Assigned riding positions
-
Primary tactical uses
Share it with purchasing, training, and line officers. Clear documentation preserves your rationale when leadership changes or the next budget cycle arrives.
Conclusion & Next Steps
Choosing a fire hook isn’t glamorous, but it’s strategic. Analyze your buildings, pick head styles and lengths that match real work, and involve your crews in demo testing. The payoff is a tool cache that feels “made” for your department—lower fatigue, faster ventilation, safer overhaul.

